I wanted to post this back around Christmas time but it was just too crazy. This last year, I decided to focus on making most of our gifts. We had decided to just do a few gifts anyway since our children receive gifts from their grandparents.
Our little man, being just 17 months old at the time, I thought it would be fun to make some soft balls for him to throw. They would do less damage to our surroundings. After some searching, I came across Grand Revival Designs. Her design was exactly what I was looking for.
Now, I’m no seamstress. I’ve done very, very, very little sewing in my years but this ball is very simple to make and very cheap. Our son loves them (he saw me making them one evening and wanted them so bad – this was a couple of days before Christmas).
Since I was making these for a toddler, I decided to add a large jingle bell to the center of the ball before finishing up the sewing. It added a nice baby noise to the ball without being over powering or annoying. And of course, our kids all loved making the balls jingle.
[Tweet “How to make cloth jingle balls – #diy #frugalgifts #homemadegifts “]
If you would like to try to make one, go to Grand Revival Design’s site, scroll down until you see ‘Free Grand Revival Patterns‘ on the lower right side. Once there, click on the ball and it will take you to a .PDF format of the pattern that you can print. 🙂 I used the largest size of the 3 patterns she had printed on the paper.
For this project, you’ll need the following:
Ball Pattern
Material
Jingle Bells
Ribbon
Sewing machine
Matching thread
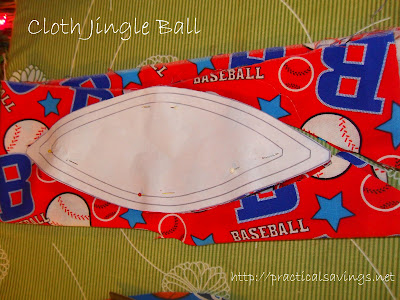
I folded my material over a couple times and pinned it so I could just make one cut instead of 6 cuts per pattern (I knew I was making 2 balls from the start). If you do this, just make sure you pin through all the layers and pin it in several places.

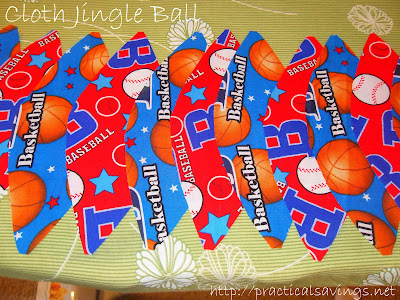
All the material pieces laid out for both balls. I laid them out in the pattern I was going to use prior to sewing so I wouldn’t have to double check myself constantly. Now follow the directions on the pattern for sewing.
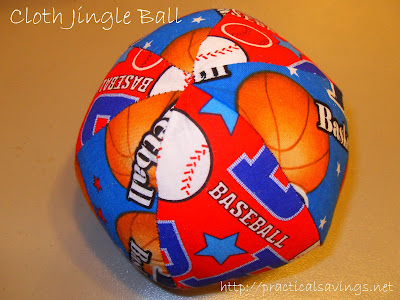
Ta-dah! Super easy and simple but adorable and the perfect size for a little person.
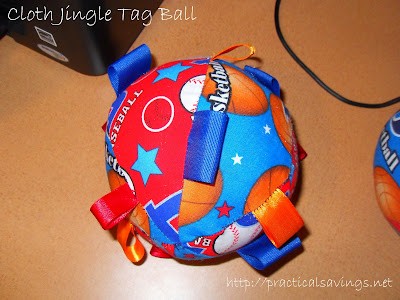
I got inspired after making the first ball and decided to make the second one tabbed with different textured ribbons. If you want to do tabbed, I recommend cutting the ribbon into at least 3 inch (I’d go with 4 inch to be safe) pieces so you have plenty of room to sew them and have them stick out. It’s a great way to use up scrap ribbon. The tabs make it easier to hold on to and our little man loves to feel the texture on some of them.
Originally, I had intended to use 3 different material patterns, but I couldn’t find a third one that worked so I went with two patterns.
Do you have a fun craft to share?
Comments